FIS Authenticator
Add OTP Account
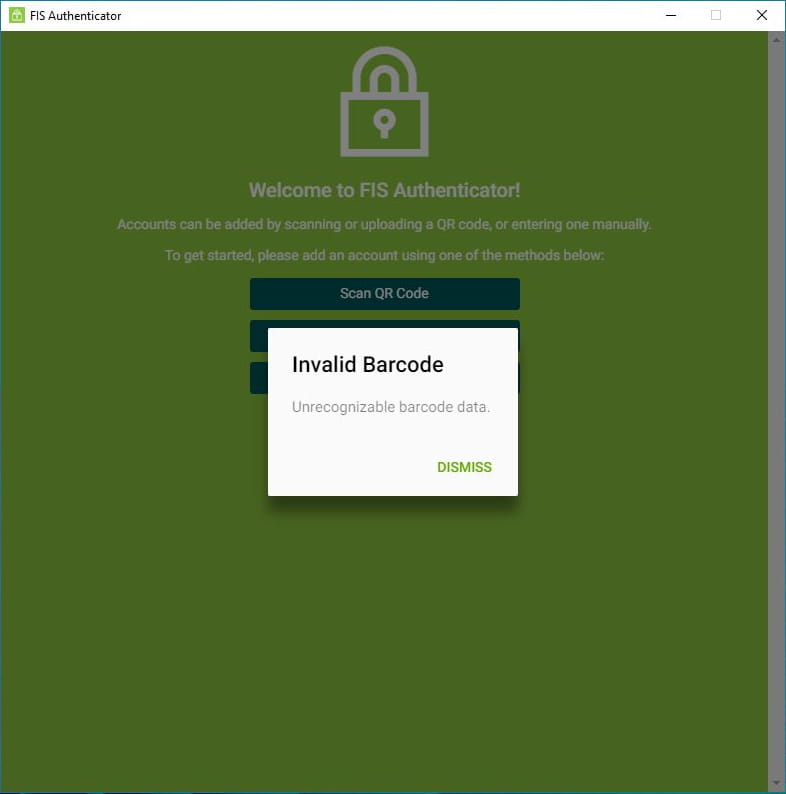
Step 1: After the app is installed as instructed in "Install Desktop App (Typical User)" locate the application shortcut on your desktop and the app will open to the screen pictured below.

Step 2: If you select "Scan QR Code" or "Upload QR Code" you will need to have a picture of or the digital file of the QR code which would be provided to you by the login provider of the account you are adding. Selecting "Scan QR Code" requires access to a camera or webcam on the device you are using. It will turn on if available.

Step 3a: Once a valid QR is scanned, it will populate the "Add Account" form with the appropriate details for that login provider. If the QR code is not valid, the form will not appear and you will need to try again and/or check that the QR code is correct.
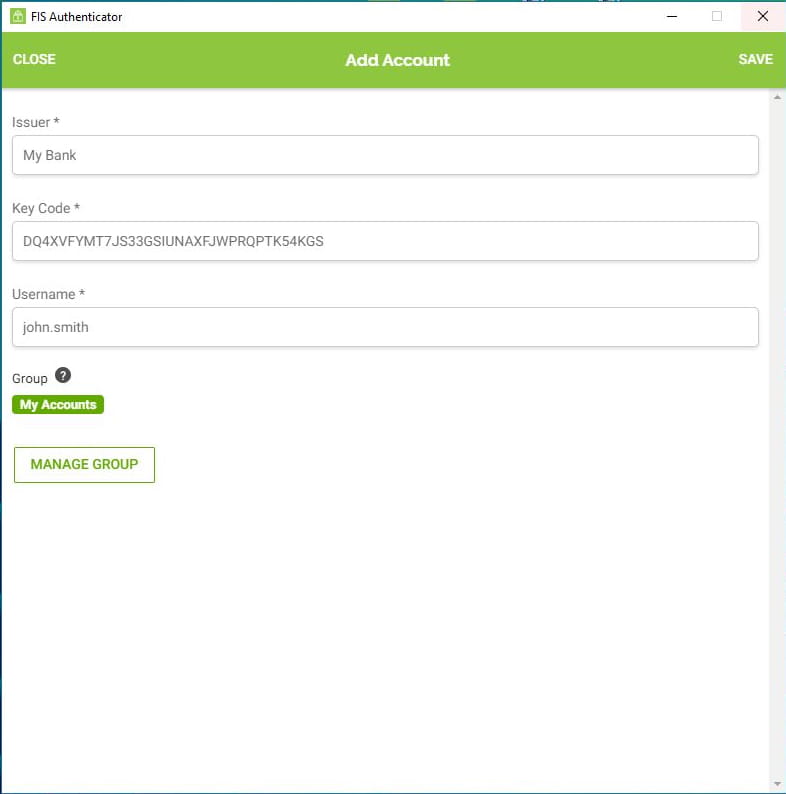
Step 3b: If you did not scan or upload a QR code for the OTP account and instead selected "Enter Manually" from the list of options you will need to fill all the fields on the "Add Account" form. "Issuer" should be filled with the name of the login provider. "Key Code" should be filled with an alphanumeric string of characters provided by the login provider. "Username" should be filled with the respective username (id or email address) of that account. These fields must be filled to help you better identify an account but they have no validation against your actual login provider information or account credentials.

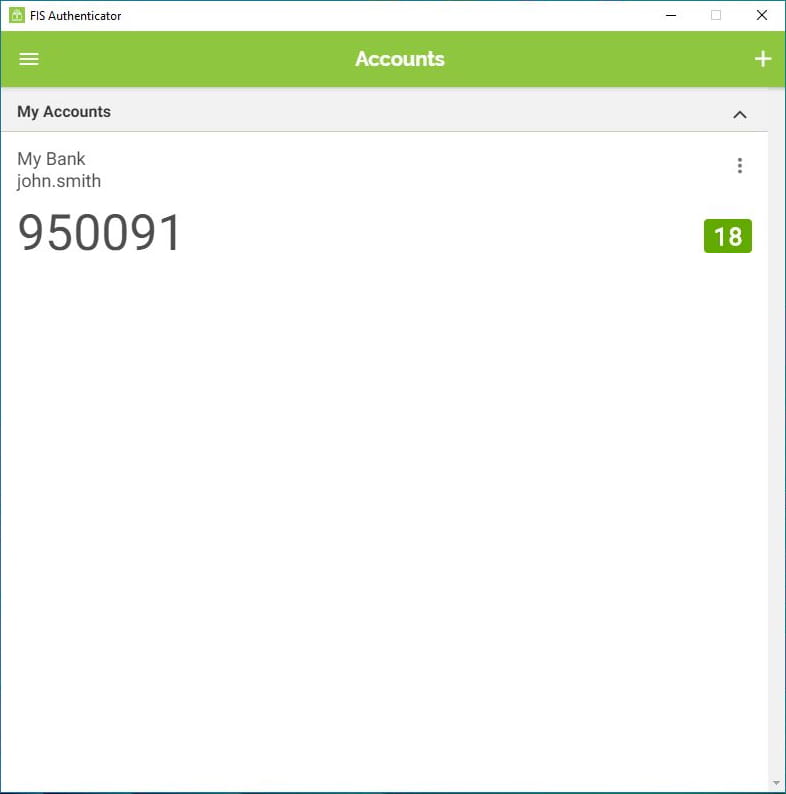
Step 4: Hit "Save" in upper right corner and when all required fields have been filled. The account will start to generate random PIN codes. Additional OTP accounts can be added through the same methods described above by selecting the plus icon in the upper right hand corner of the screen.